

Choosing wipe-clean finishes
Wipe-clean finishes in a dialysis room need to do more than look neat on handover day. They must cope with daily cleaning, trolley traffic, splashes, knocks and the moisture loads that come with clinical treatment areas.
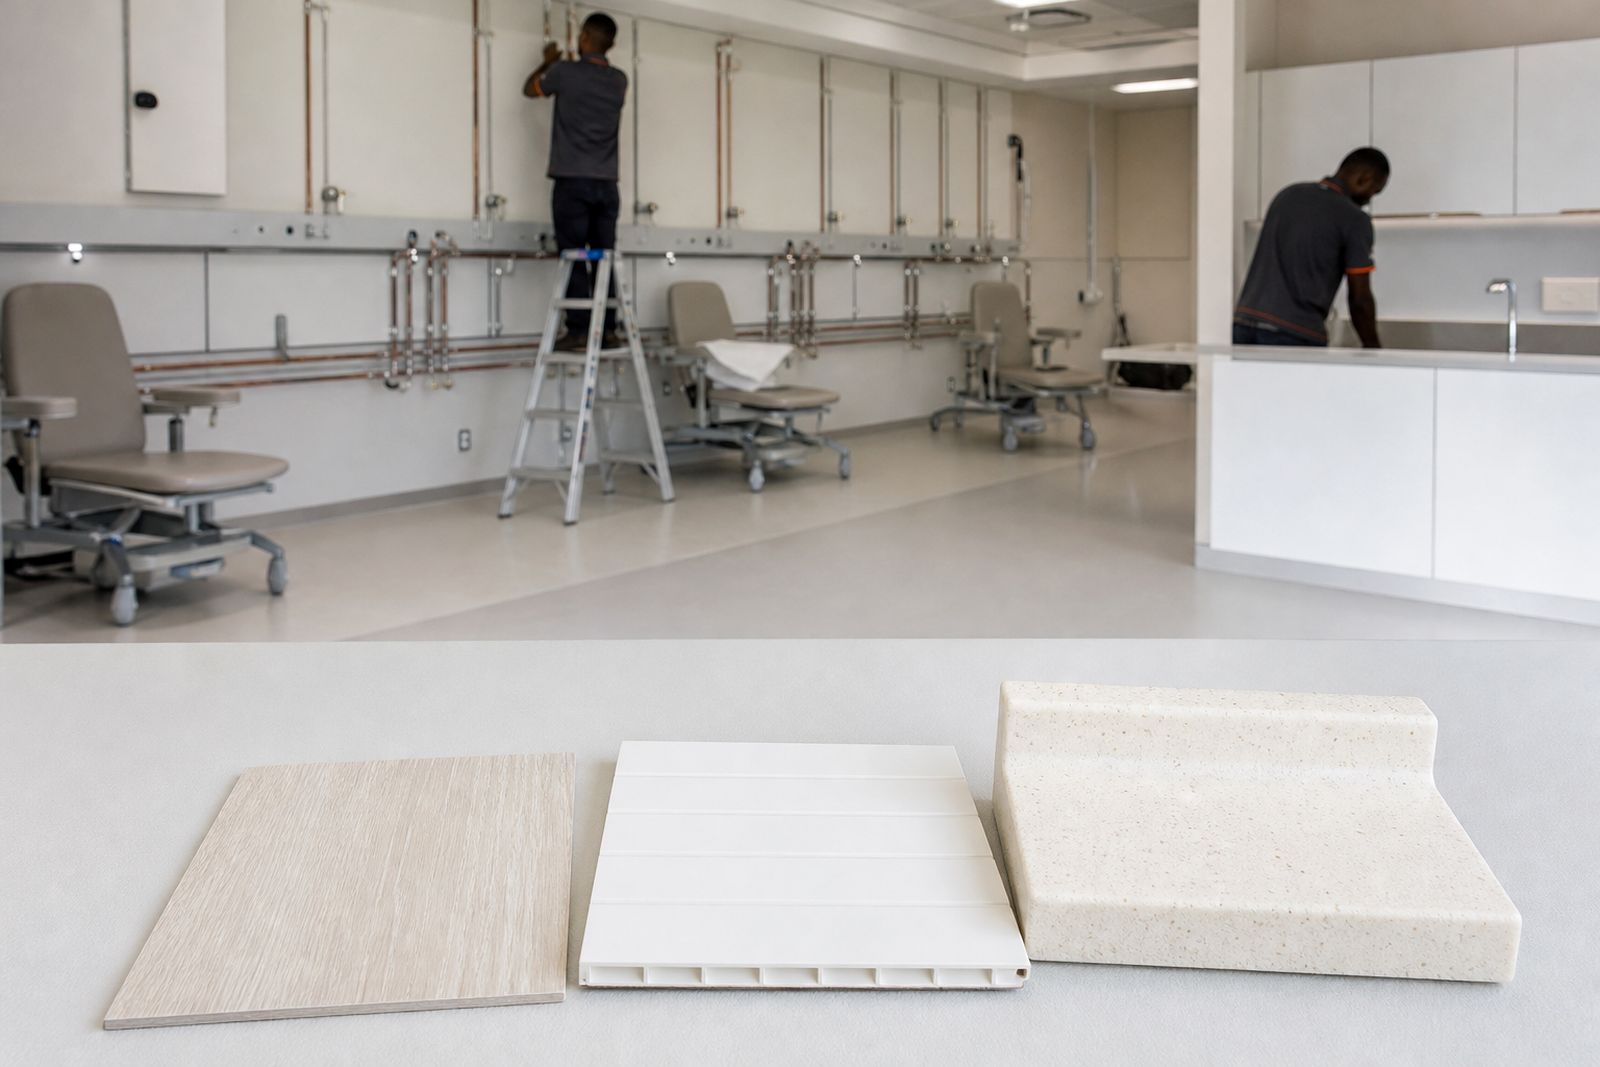
Start with the cleaning routine, not the colour chart
The best finish is usually the one that matches the room's actual cleaning routine. In dialysis areas, surfaces are wiped many times a day and some zones get far more contact than others. Treatment-chair bays, sink areas, nurse stations and store rooms each have different wear patterns, so it helps to choose finishes by task and location rather than trying to use one material everywhere.
Before selecting anything, ask the operator's clinical and engineering team how the room will be cleaned, which products are commonly used, where wet work happens and where equipment is moved most often. A finish that is easy to wipe but marks badly, chips at edges or opens at joints can become a problem quite quickly. The aim is simple: smooth surfaces, tidy junctions and as few dirt traps as possible.
- List each room or zone separately rather than issuing one finish note for the whole unit.
- Identify wet areas, dry areas and high-contact points.
- Confirm the usual cleaning chemicals and dilution methods with the operator.
- Note where beds, trolleys, bins and service carts may hit walls or corners.
- Check whether after-hours cleaning crews need finishes that are forgiving if used hard.
Floor finishes that cope with moisture and traffic
Flooring in dialysis rooms must clean easily and remain safe under regular mopping. In many projects, a smooth floor finish is preferred because it removes grout lines and reduces edges where dirt can sit. Floors should also turn neatly up at the perimeter where required, especially in areas where splashes or frequent washing are expected. That coved detail helps with cleaning and keeps the wall-floor junction from becoming a maintenance headache.
Slip resistance matters, but it has to be balanced with cleanability. A very rough surface may grip well when wet, yet it can hold dirt and become difficult to sanitise properly. In practice, the right answer is often a floor with a closed surface and a finish level suited to clinical foot traffic, occasional drips and wheeled movement. In coastal areas, or where humidity is high, moisture conditions in the slab and adhesive choice also need a proper check before installation.
Look carefully at transitions too. Thresholds between treatment areas, passages and adjacent support rooms should be planned so there are no abrupt lips to catch wheels or collect grime. Small detailing choices here save a lot of trouble later.
- Choose a floor with minimal joints and easy repair options.
- Use coved skirtings where cleaning and infection-control requirements call for them.
- Check slip performance against the likely wetness of the space.
- Plan movement joints properly rather than covering them over and hoping for the best.
- Make sure floor finishes suit wheeled traffic, not just foot traffic.
Wall finishes and corner details that stay serviceable
Walls near treatment-chair bays and hand-wash areas take more abuse than many people expect. Repeated wiping, occasional splashes and impact from movable equipment can quickly show up weak points. For that reason, wipe-clean wall finishes should be selected together with trims, corner protection and service penetrations. A smooth wall is only part of the answer. The edges, cut-outs and junctions usually determine whether the area still looks clean and intact after a period of use.
In treatment rooms, it often makes sense to keep surfaces simple and closed, with finishes that do not shed, fray or absorb moisture. Around basins and plumbing points, avoid unnecessary ledges and exposed gaps. If service outlets, trunking or containment are required, their layout should be coordinated early so installers are not forced into untidy last-minute cuts. That's where wipe-clean intent can be lost.
Corner protection is worth discussing early in the brief. A wall finish may be easy to wipe, but if trolley contact chips every external corner, cleaning staff and maintenance teams are left chasing the same defects over and over.
Worktops, cabinetry and sink surrounds
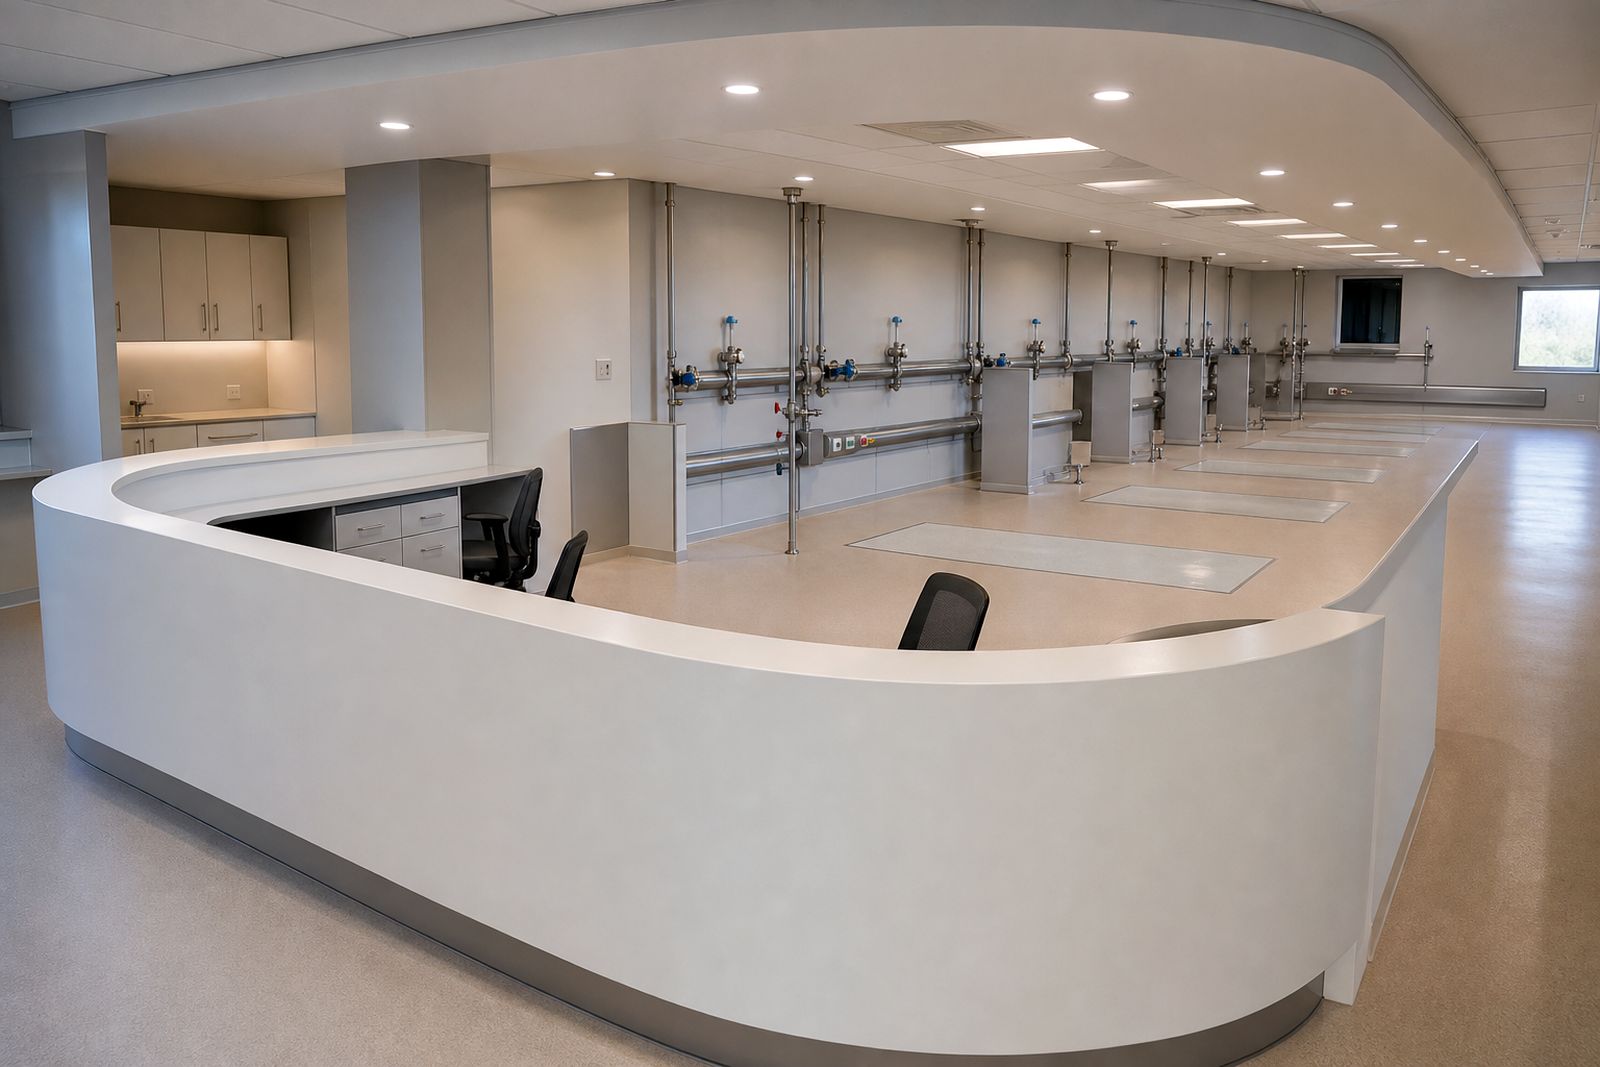
Nurse stations, utility counters and storage areas need work surfaces that can handle constant wiping without swelling, lifting or staining at joints. In clinical support spaces, horizontal surfaces should be easy to clear and easy to wipe in one pass. Worktops with too many seams, exposed substrate edges or awkward upstands can make daily cleaning slower than it needs to be.
Cabinet fronts, handles and plinth details matter as much as the top surface. Dirt tends to build up where there are deep grooves, rough cut edges or low clearances above the floor. A practical fit-out normally favours simple fronts, durable edging and sink details that stop water from creeping into joinery. If a sink or scrub point is nearby, look closely at splash zones and the junction between wall finish and counter.
- Keep worktop joints to a minimum and seal them properly.
- Avoid absorbent board edges in areas exposed to regular moisture.
- Use cabinetry details that allow easy floor cleaning at the base.
- Check that splashbacks and upstands do not leave open sealant gaps.
- Coordinate cut-outs for power and data so surfaces are not hacked later.
Check junctions, penetrations and service access
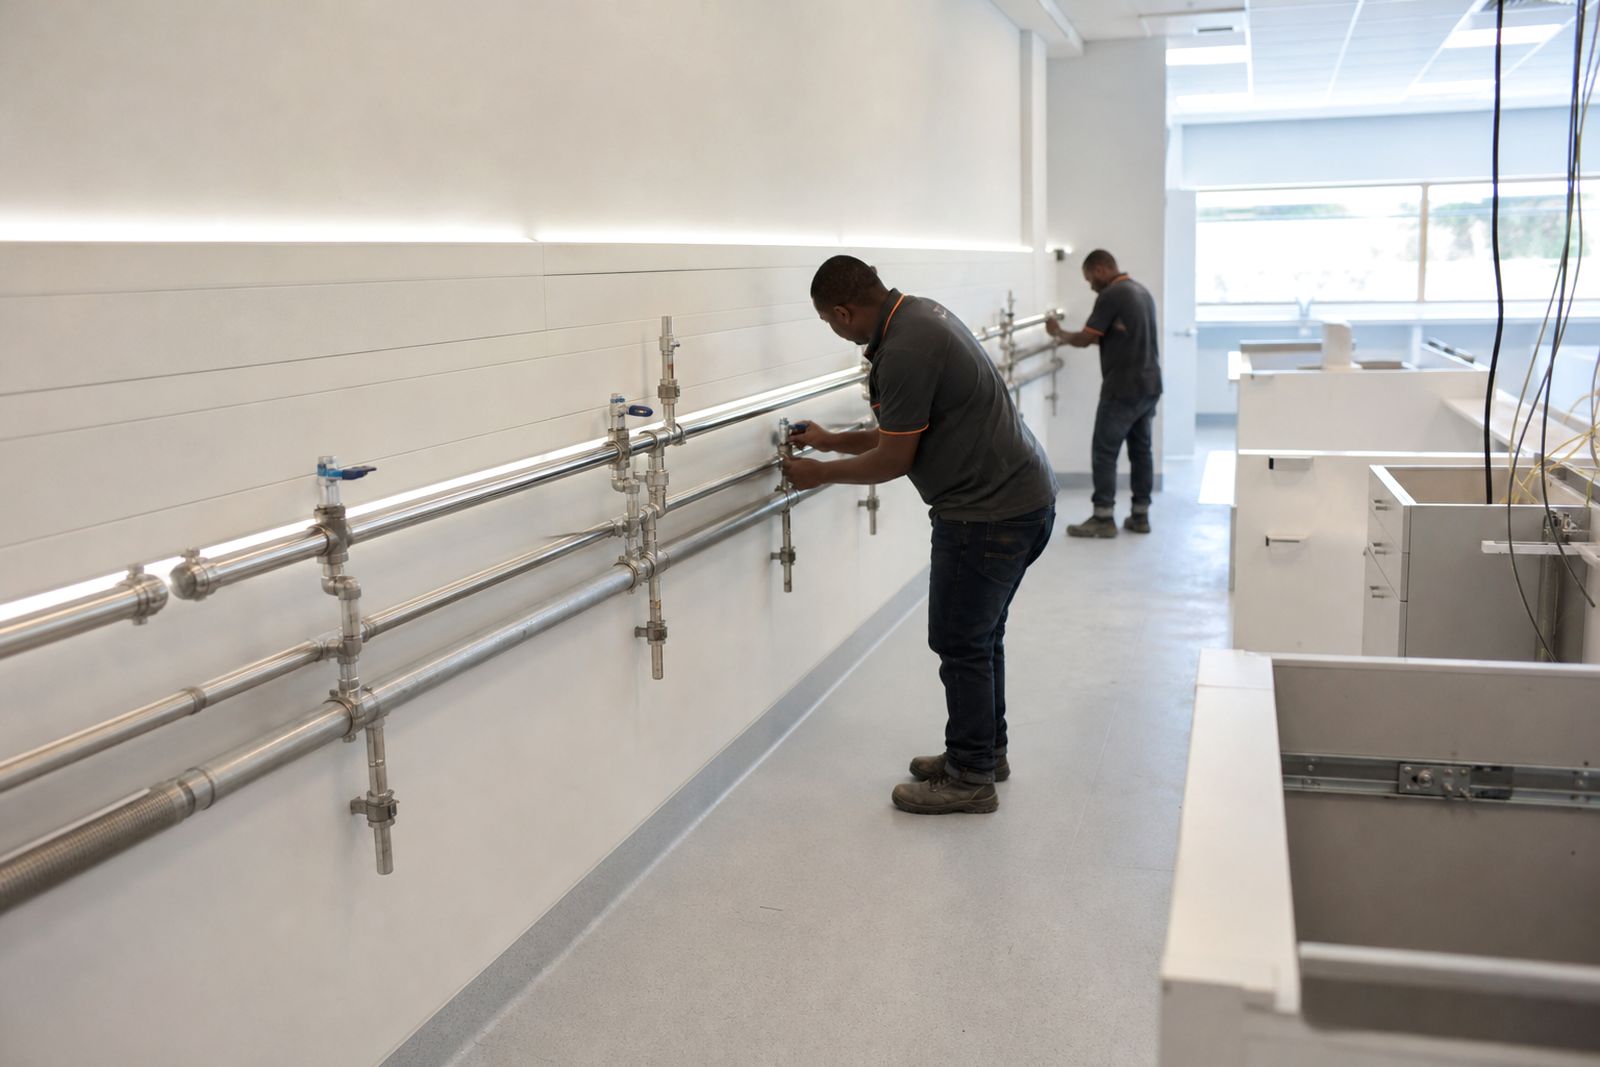
Many finish failures start where one element meets another. Pipe penetrations, floor boxes, access panels, skirting returns and wall-to-counter junctions all need careful detailing if the room is to remain easy to clean. In dialysis fit-outs this is especially important around the water-loop plumbing route, drainage points and service positions at each bay. If these details are left to site improvisation, the result is often extra sealant, untidy patching or joints that open under cleaning.
Access for maintenance also needs thought. A finish that looks clean on day one but has to be cut apart every time a valve or service point is checked will not stay neat for long. Good planning allows the operator's engineering team to reach what they need without damaging adjacent finishes. That includes checking access panel locations, removable sections and the route for future servicing.
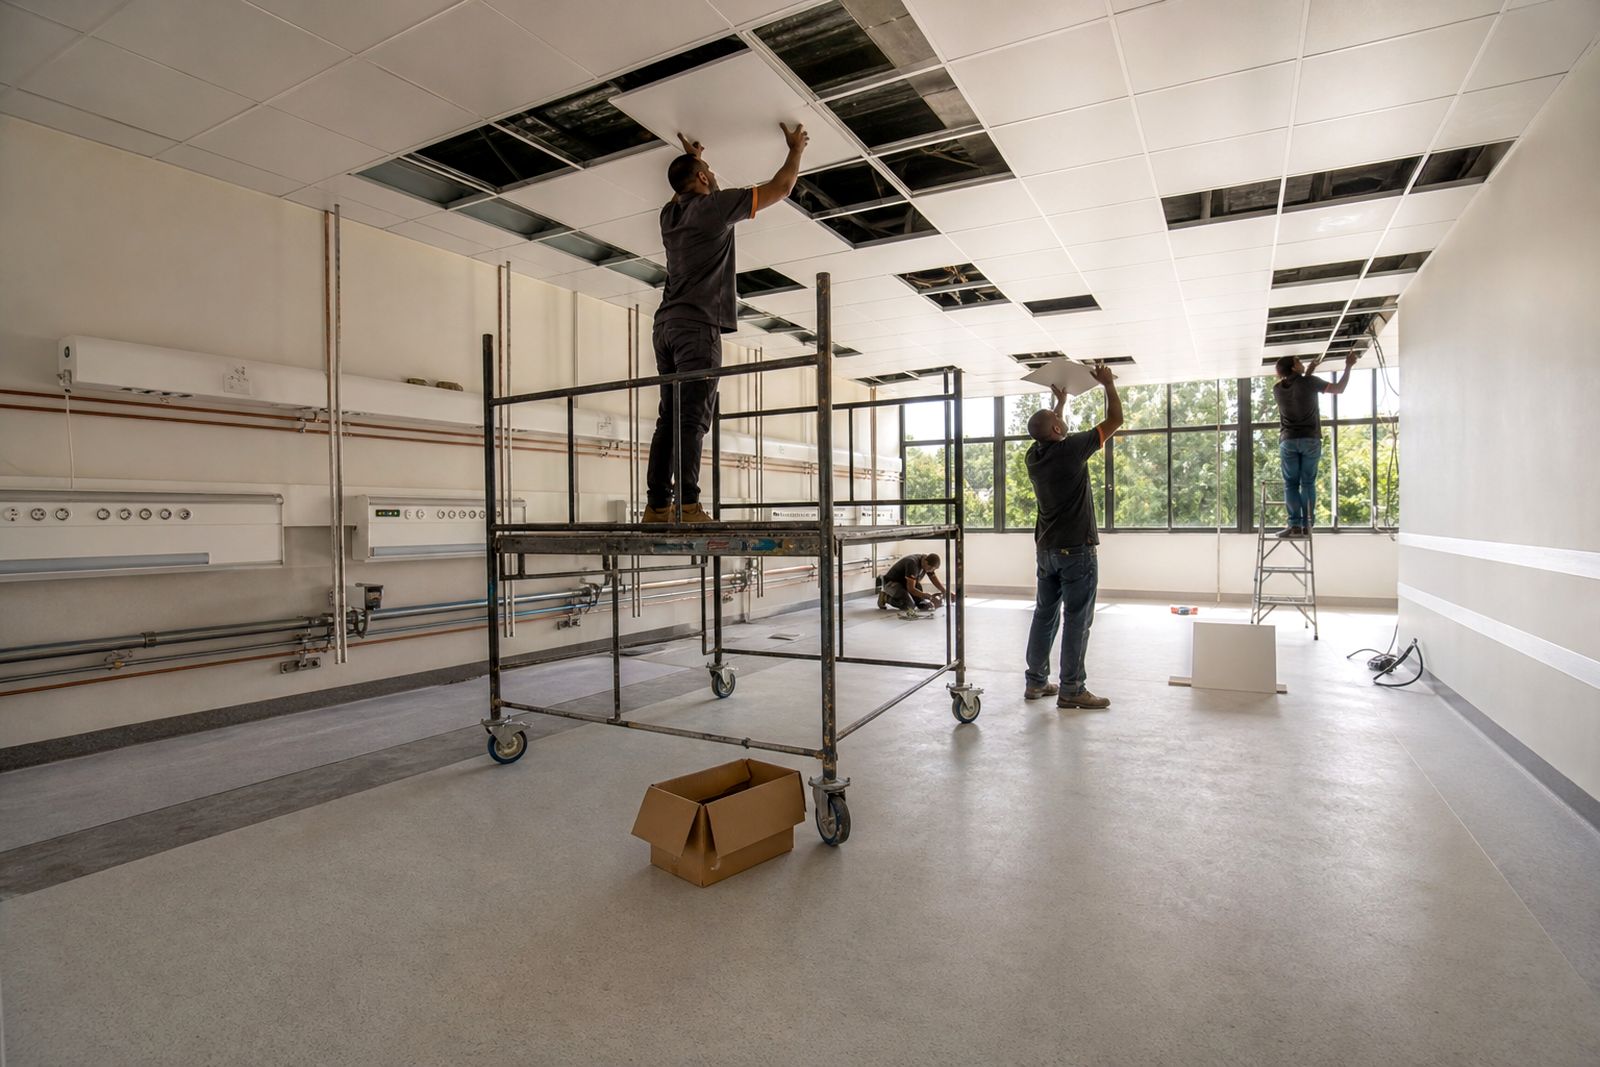
In live facilities, phased work makes this even more important. Dust control, temporary barriers and handover by area all affect how well finishes are protected before the unit goes back into use. Small snags can spread quickly if they are not closed out while the trades are still on site.
A practical selection checklist before sign-off
Before the operator signs off the chosen finishes, walk through every surface in a structured way. Samples can help, but they should be judged against the real conditions of the room, not only under showroom lighting. Think about glare, cleaning marks, edge vulnerability and how the finish will age after repeated wiping. Very dark or very glossy finishes often show smears more readily, which can be frustrating in a room that is cleaned often.
It is also worth checking how finishes behave during load-shedding or generator operation. Cleaning teams may be working under emergency lighting levels and surfaces that hide spills badly or create reflections can become awkward to inspect. The best choice is normally the one that remains practical under ordinary daily conditions not just under ideal conditions.
- Review the floor, wall and worktop schedule room by room.
- Confirm compatibility with the operator's cleaning products and methods.
- Inspect sample junctions, not only flat sample pieces.
- Check corners, skirtings, upstands, trims and penetrations on the drawings.
- Ask who will maintain each finish and how minor damage will be repaired.
- Make sure the operator's clinical and engineering team signs off the final selection.
We build to the operator's own clinical brief, and finish choices should always sit within that brief and the wider project requirements. The aim is not to over-specify every surface. It is to choose finishes that clean properly, stand up to normal use and can be maintained without constant patching.
What our Dialysis Room Fit-Out customers say
Verified Google reviews
Questions we get asked
Are wipe-clean finishes only needed in treatment-chair bays?
No. Treatment-chair bays are a priority, but nurse stations, utility areas, sink surrounds, stores and circulation routes also need finishes that clean easily and do not trap dirt at joints or edges.
Do you advise on clinical standards for finish selection?
We do not give clinical advice. We work to the operator's own clinical brief, and the operator's clinical and engineering team signs off the selected finishes and detailing.
Can finishes be upgraded in a live dialysis facility?
Yes, provided the work is carefully phased around live operations. Protection, access control, dust management and area-by-area handover all need to be planned from the start.
Also worth a look

Tell us about your dialysis room
Send a note through our contact form about the facility, the number of bays planned and where you are in the design process.
Open the contact form